Camera
Camera Objects
Camera objects are physical camera objects placed in the scene to depict a viewpoint and rendering style. These conditions are then saved as a Camera in the Design Director of the current drawing.
The following camera objects are available :
- Camera by View
- Normal to View
- Parallel to View
- By 2 Points
The views saved by the Camera can be attached to their own window which enables them to be opened independently.
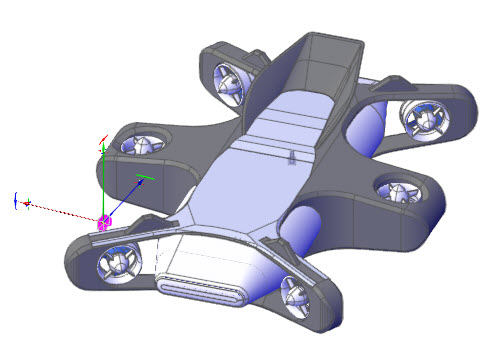
In the example below, a camera object is shown selected. The properties of any inserted camera are found in the Design Director > Camera.
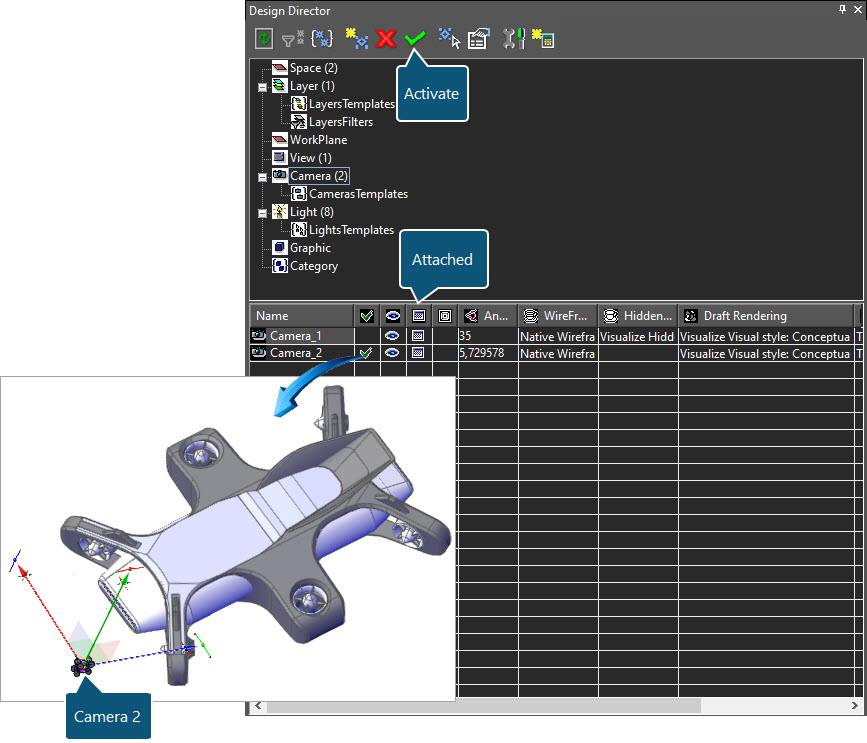
Attached View
Any camera view can be assigned its own window. This creates an independent workspace which is accessible using Window > Windows. The name of the camera view is identified by its Camera name in the Design Director.
Example
- To create a camera view, create the preferred viewpoint and rendering mode in the editor.
- Select View > Insert Camera > (option)
- Define the focal point and the target by creating a line of sight.
- Select the Camera item in the Design Director then use the Activate option to display the camera view.
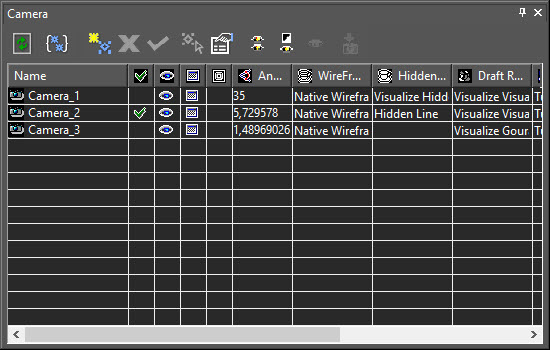
Cameras
Camera views created in the scene can be viewed using View > Cameras. A dialog similar to that shown below will be displayed. When the Attached option is checked, the camera view can be viewed independently in the editor.
Worked Example
- Draw any 3D object in the editor or download and open the Camera Objects drawing.
- All objects in this design are stored as separate parts in the Blocks palette should you wish to experiment with multiple cameras.
- Follow the above instructions to experiment with various Camera options.
See Also